Stat Ceiling Science: The Exact Points Where Damage, Crit, and Attack Speed Stop Paying Off

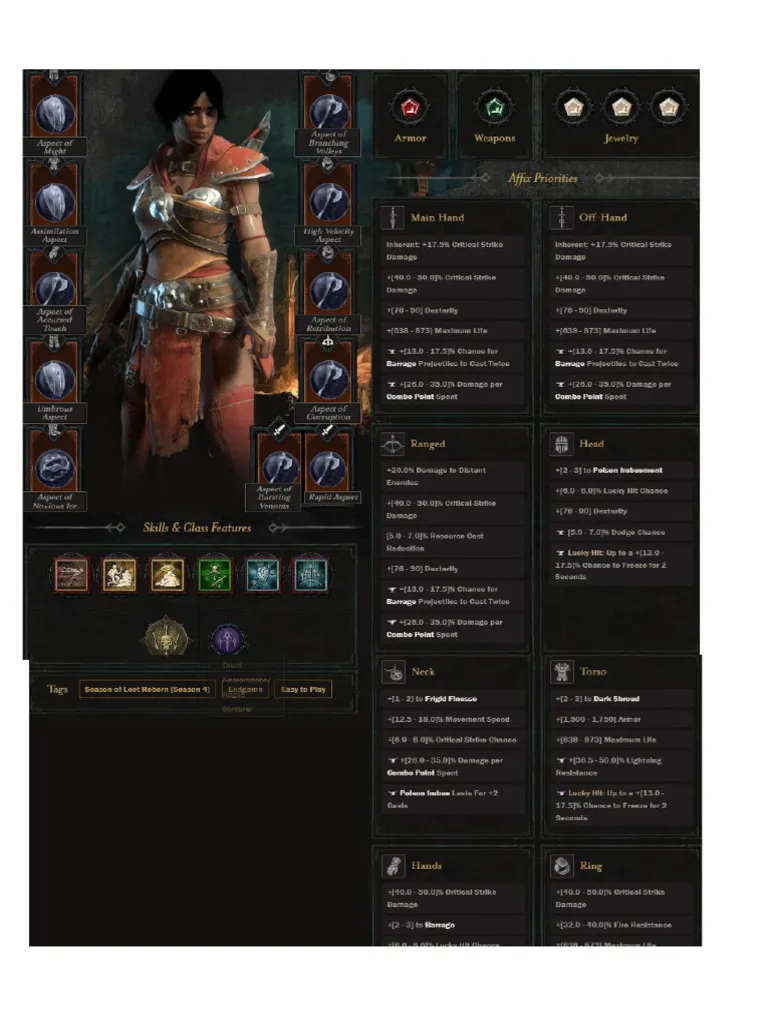
Photo: Diablo 4 character stats screen damage numbers skill tree detailed UI, via store-images.s-microsoft.com
There's a moment in every Diablo 4 season where you upgrade a piece of gear, load into a Pit run, and notice absolutely nothing changed. Same clear time. Same death moments. Same stall at the same tier. You spent 20 million gold and an hour of grinding for a result you can't even measure.
You didn't get unlucky. You hit a breakpoint—and you didn't know it.
Understanding where damage stats stop scaling efficiently is one of the most valuable pieces of knowledge in this game, and it's almost never discussed in build guides because it requires math most players don't want to do. We did the math. Here's what it means for your build.
How Diablo 4's Damage Formula Actually Works
Before breakpoints make sense, you need a rough mental model of how damage is calculated. Diablo 4 uses a multiplicative damage system with several distinct buckets:
- Base Damage (weapon damage + skill coefficient)
- Additive Damage Bonuses (flat % increases from affixes that say "increased damage")
- Multiplicative Damage Bonuses (separate multipliers from Aspects, Paragon nodes, and skill upgrades)
- Critical Strike Chance × Critical Strike Damage (combined into a single multiplier)
- Vulnerable Damage (separate multiplier applied when enemies are Vulnerable)
- Attack Speed (affects how frequently the formula fires)
The critical insight: additive bonuses share a bucket and scale against each other. Every additional flat % damage bonus you add returns less value than the one before it because it's being divided across a larger existing sum. Multiplicative bonuses don't share this problem—they each apply independently.
This is why two builds with identical item power levels can have wildly different effective damage outputs.
Critical Strike Chance: The 60–65% Soft Cap
Critical Strike Chance is one of the most over-invested stats in the game at endgame. Here's why:
Your effective Critical Strike multiplier follows this formula: 1 + (Crit Chance × Crit Damage Bonus). Once your Crit Chance exceeds roughly 60–65%, the marginal gain from each additional percentage point of Crit Chance begins dropping sharply—because you're already critting on the majority of your hits.
At 60% Crit Chance with 250% Crit Damage: you're multiplying your base by 2.5 on 60% of hits. That's an average multiplier of roughly 2.1x.
At 80% Crit Chance with the same Crit Damage: your average multiplier is roughly 2.4x. The 20-point Crit Chance investment bought you 0.3x improvement—the same improvement you'd get from adding roughly 15% Crit Damage instead.
The pivot point: Once you're at or above 60% Crit Chance, additional Crit Chance affixes return less value than Crit Damage, Vulnerable Damage, or a multiplicative Aspect. Audit your gear for Crit Chance stacking past this threshold.
Critical Strike Damage: The 300–350% Consideration Zone
Crit Damage doesn't have a hard cap, but it operates within the same additive bucket as other damage bonuses on most items. Once your Crit Damage climbs above roughly 300–350% (including Paragon contributions), each additional 10% returns meaningfully less than it did at 150%.
The reason is that Crit Damage scales multiplicatively with Crit Chance—so its returns are tied to how often you're actually critting. If you're at 65% Crit Chance and 350% Crit Damage, adding another 20% Crit Damage improves your average multiplier by less than adding 8–10% Vulnerable Damage would, because Vulnerable applies to the full damage output rather than only crit hits.
Class-specific note: Rogues and Sorcerers, whose class mechanics often provide built-in Crit bonuses, tend to hit these consideration zones earlier in the season than Barbarians or Druids. If you're playing a class with passive Crit generation, audit your Crit Damage ceiling earlier than you think you need to.
Attack Speed: Functional Cap at ~65–70% Bonus
Attack Speed is the sneakiest offender in this conversation. It feels impactful because faster animations are visually obvious. But Diablo 4's animation system has practical limits on how frequently skills can actually execute, regardless of what your sheet stat says.
For most skill types, the functional benefit of Attack Speed plateaus around 65–70% total bonus attack speed above your weapon's base. Beyond that, you're often running into animation lock floors—the minimum frame counts built into skill animations that can't be reduced further.
More importantly, Attack Speed only multiplies the frequency of your damage formula firing. If your damage per hit is already high, faster hits help. But if you're stacking Attack Speed while your actual hit damage is underdeveloped, you're spinning your wheels quickly.
The pivot point: If your Attack Speed bonus exceeds 65% and you're still clearing Pit tiers slower than expected, redirect the next two gear slots toward Cooldown Reduction or a mobility affix. You'll likely see a bigger practical improvement.
The Flat Damage Additive Trap
This is where most mid-tier players lose the most ground. Affixes that read "X% increased damage" or "X% increased damage to Elites" are additive bonuses. They stack with each other—and as that stack grows, each new one contributes less.
A rough illustration:
| Total Additive Damage Stacked | Value of Next 10% Additive Bonus |
|---|---|
| 100% | ~5% effective DPS increase |
| 200% | ~3.3% effective DPS increase |
| 300% | ~2.5% effective DPS increase |
| 400% | ~2% effective DPS increase |
Once you're stacking 300%+ additive damage from affixes and Paragon nodes, each new additive affix is worth roughly half what it was when you started. This is when survivability affixes, Cooldown Reduction, or a new multiplicative Legendary Aspect will outperform another damage roll in real-world performance.
What to Stack Instead: The Post-Breakpoint Priority List
Once you've identified that you've crossed one or more of these thresholds, here's where to redirect your stat investment:
1. Cooldown Reduction (CDR) For any build that relies on a powerful cooldown skill, CDR past 40% can effectively increase your DPS more than a 15% damage affix by enabling more frequent skill windows.
2. Maximum Life + Armor The survival floor required to clear Pit 90–100 is non-negotiable. Players who die once per Pit attempt lose more time than the damage upgrade would have saved.
3. Crowd Control Duration or Resistance Reduction Both multiply your damage against specific enemy types more efficiently than additive flat bonuses at this stage.
4. Mobility Affixes In Helltide and Pit scenarios, reducing the time between packs often produces better clear times than increasing the damage output per pack.
Building a Personal Breakpoint Audit
Here's a simple four-step process to identify where you are relative to these thresholds:
- Open your character sheet and note your Crit Chance, Crit Damage, and Attack Speed bonus totals.
- Compare against the thresholds above for each stat.
- For any stat above threshold, identify the two gear slots contributing most to it.
- Sim those slots with alternative affixes (survivability, CDR, mobility) using the in-game comparison tool or an external calculator.
If the alternative performs within 5% on damage while improving survivability or uptime, make the swap. You're almost certainly in diminishing returns territory.
More damage isn't always more power. Sometimes the smartest offensive move is knowing exactly when to stop chasing offense.