There's a particular kind of humbling that happens when you've been farming Pit 80 without a scratch, feeling genuinely unstoppable, and then you walk into an Uber boss encounter and get deleted in six seconds. It happens to everyone, and the reason is almost always the same: you brought a farming build to a boss fight.
Uber bosses in Diablo 4 aren't just harder versions of regular content. They're mechanical puzzles that specifically punish the things that make farming builds so efficient — constant movement, AOE spam, low single-target focus, minimal defensive investment. Each Uber boss has a unique danger profile, and the builds that clear them consistently aren't necessarily the strongest builds in the game. They're the most adapted ones.
Here's what you actually need to change — and when.
The Core Principle: Static Builds Are Farming Builds
Your primary build is optimized for throughput across a wide range of content. That's its job. But Uber bosses test specific things: burst damage windows, mechanical awareness, and the ability to survive concentrated single-target punishment.
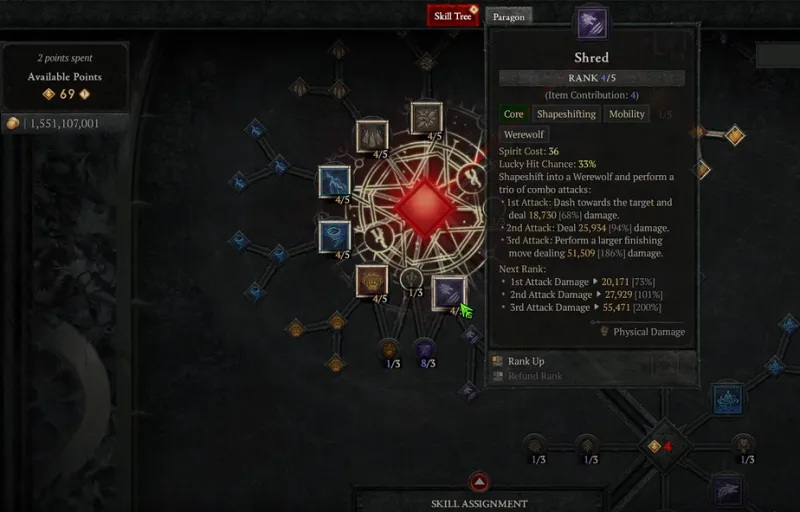
The good news is that you don't need a second full build. You need a tuned version of your existing build — usually 2–4 skill bar adjustments, a possible Aspect swap, and a clear mental plan for the encounter's most dangerous phases. Think of it less as rebuilding and more as sharpening.
Uber Lilith: The Patience Test
Primary threat: Phase transitions, delayed AOE patterns, and a brutal second phase that punishes aggressive positioning.
Lilith is less about raw damage and more about not dying to mechanics you can predict. The biggest mistake players make is burning all their cooldowns in phase one, then hitting phase two with nothing in reserve when the fight actually gets dangerous.
Build adjustments:
- Swap one damage skill for a mobility skill if your build doesn't already have gap-closing or fast repositioning. The blood petal patterns in phase two require quick lateral movement, not just sprint.
- Consider replacing an offensive Aspect on your boots with a movement speed or Evade enhancement Aspect. The DPS loss is minimal; the survivability gain is significant.
- Cooldown discipline: Hold your ultimate for phase two. Every time. No exceptions.
Danger rating: Mechanical ★★★★☆ | Raw damage ★★☆☆☆
Duriel, King of Maggots: The Burst Window Boss
Primary threat: Interruption attacks that cancel your damage rotations, a rapid-fire stun mechanic, and a surprising amount of single-target burst damage.
Duriel rewards builds that can dump damage in short, clean windows and then get out. If your build relies on long channel skills or multi-hit combos that require setup time, you'll lose damage constantly to interruptions.
Build adjustments:
- Prioritize instant-cast or short-cast skills in your rotation. Long channel skills will be interrupted frequently; accept this and plan around it.
- Add a Crowd Control skill if your build doesn't have one. Even a brief stun buys you a full damage rotation without interruption — that's a massive DPS gain over the course of the fight.
- Fortify stacking matters here more than almost any other Uber encounter. If your class has a Fortify-generating skill that you've dropped for DPS, this is the fight to bring it back.
Danger rating: Mechanical ★★★☆☆ | Raw damage ★★★★☆
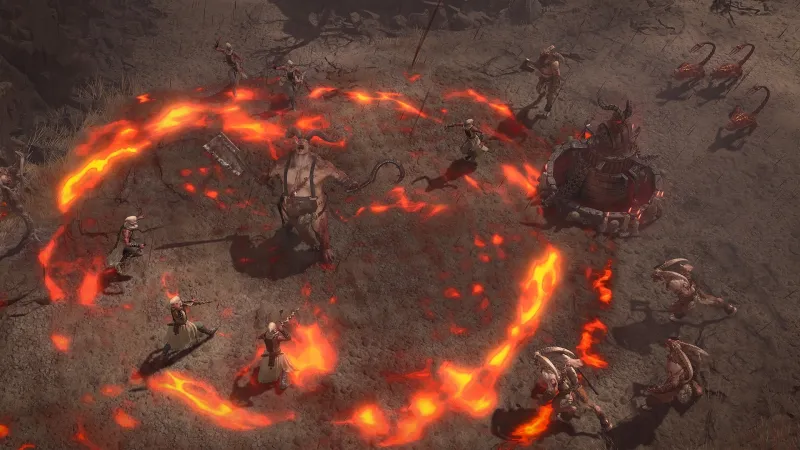
Andariel, Maiden of Anguish: The Poison Management Fight
Primary threat: Persistent poison zones that stack fast, a spray attack that covers enormous ground, and a tendency to trap players in corners.
Andariel is primarily a positioning and resource management fight. Her damage output isn't the highest of the Uber roster, but her poison zones create a shrinking arena that punishes players who don't consciously manage their movement paths.
Build adjustments:
- Poison resistance matters here in a way it doesn't for most content. Check your resistance cap before entering — being even 10% below the cap will be noticeable over a long fight.
- Bring a cleanse or healing skill if your class has access to one. The poison DoT ticks fast enough that passive healing often can't keep up during heavy overlap phases.
- Mobility-focused builds have a natural advantage here. If you can swap a defensive passive for an additional movement speed bonus, do it.
Danger rating: Mechanical ★★★☆☆ | Raw damage ★★★☆☆
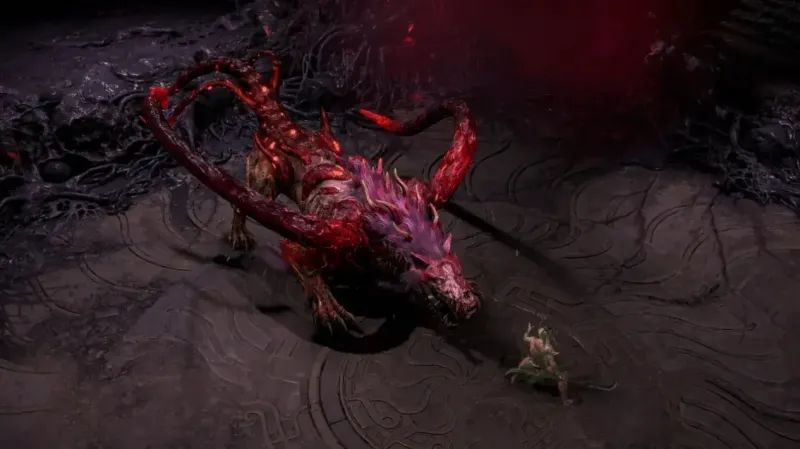
Echo of Varshan: The Chaos Variable
Primary threat: Unpredictable limb-based phase transitions that change the fight's mechanics mid-encounter, plus a corruption burst that hits harder than most players expect.
Varshan is unique because the fight literally changes based on which body parts you've attached. This makes preparation harder — you need a build that can flex rather than one optimized for a single scenario.
Build adjustments:
- Prioritize builds with consistent single-target damage over burst-dependent ones. The phase transitions mean you'll rarely get a full burst window uninterrupted.
- Keep a defensive cooldown specifically for the corruption burst phase. It's telegraphed — learn the visual cue and pop your defensive on that cue every time.
- This is the Uber encounter where barrier-generating builds shine most. If your class has a barrier Aspect you've deprioritized, Varshan is the fight to equip it.
Danger rating: Mechanical ★★★★☆ | Raw damage ★★★☆☆
The Beast in Ice: The Freeze or Die Boss
Primary threat: Cold damage buildup that leads to a full freeze if you're not managing it, plus an enormous AOE slam that one-shots players without adequate armor.
The Beast in Ice is a gear check wrapped in a mechanical test. Cold resistance and armor are non-negotiable here — players who skip these defensive stats in favor of damage optimization will die repeatedly to the same two attacks.
Build adjustments:
- Ensure your Cold resistance is capped before entering. This is the one Uber encounter where running below-cap resistance is a hard handicap, not just a soft one.
- Add a skill or Aspect that reduces or cleanses Crowd Control effects if available to your class. The freeze buildup can be managed with the right toolkit.
- The slam has a clear telegraph. Build your cooldown timing around it — use your defensive cooldown on the slam, not at random.
Danger rating: Mechanical ★★☆☆☆ | Raw damage ★★★★★
Quick-Reference Boss Adaptation Chart
| Uber Boss | Primary Threat | Key Swap | Defensive Priority |
|---|---|---|---|
| Uber Lilith | Phase transitions | Add mobility skill | Reserve ultimate for Phase 2 |
| Duriel | Interruption + burst damage | Add CC skill | Fortify stacking |
| Andariel | Poison zone management | Add cleanse/heal | Poison resistance cap |
| Echo of Varshan | Unpredictable phases | Consistent damage over burst | Barrier Aspect |
| Beast in Ice | Freeze buildup + slam | CC reduction skill | Cold resistance + armor |
The Mindset Shift That Changes Everything
The players who clear Uber bosses consistently aren't the ones with the highest DPS. They're the ones who treat each encounter as its own problem to solve rather than a wall to hit harder.
Two skill bar changes and a resistance check before entering can turn a frustrating wipe streak into a clean first-attempt kill. That's not luck. That's preparation — and it's something every player can do regardless of their gear level.